21 December 2013

Finishers are Finishing

Two weeks ago, we had Fidel, Juan, Victor and Pedro over to plaster our concrete walls.  Fidel and Juan had been here before working on the interior walls.  Now that it is getting cold, they are glad to have interior work. 

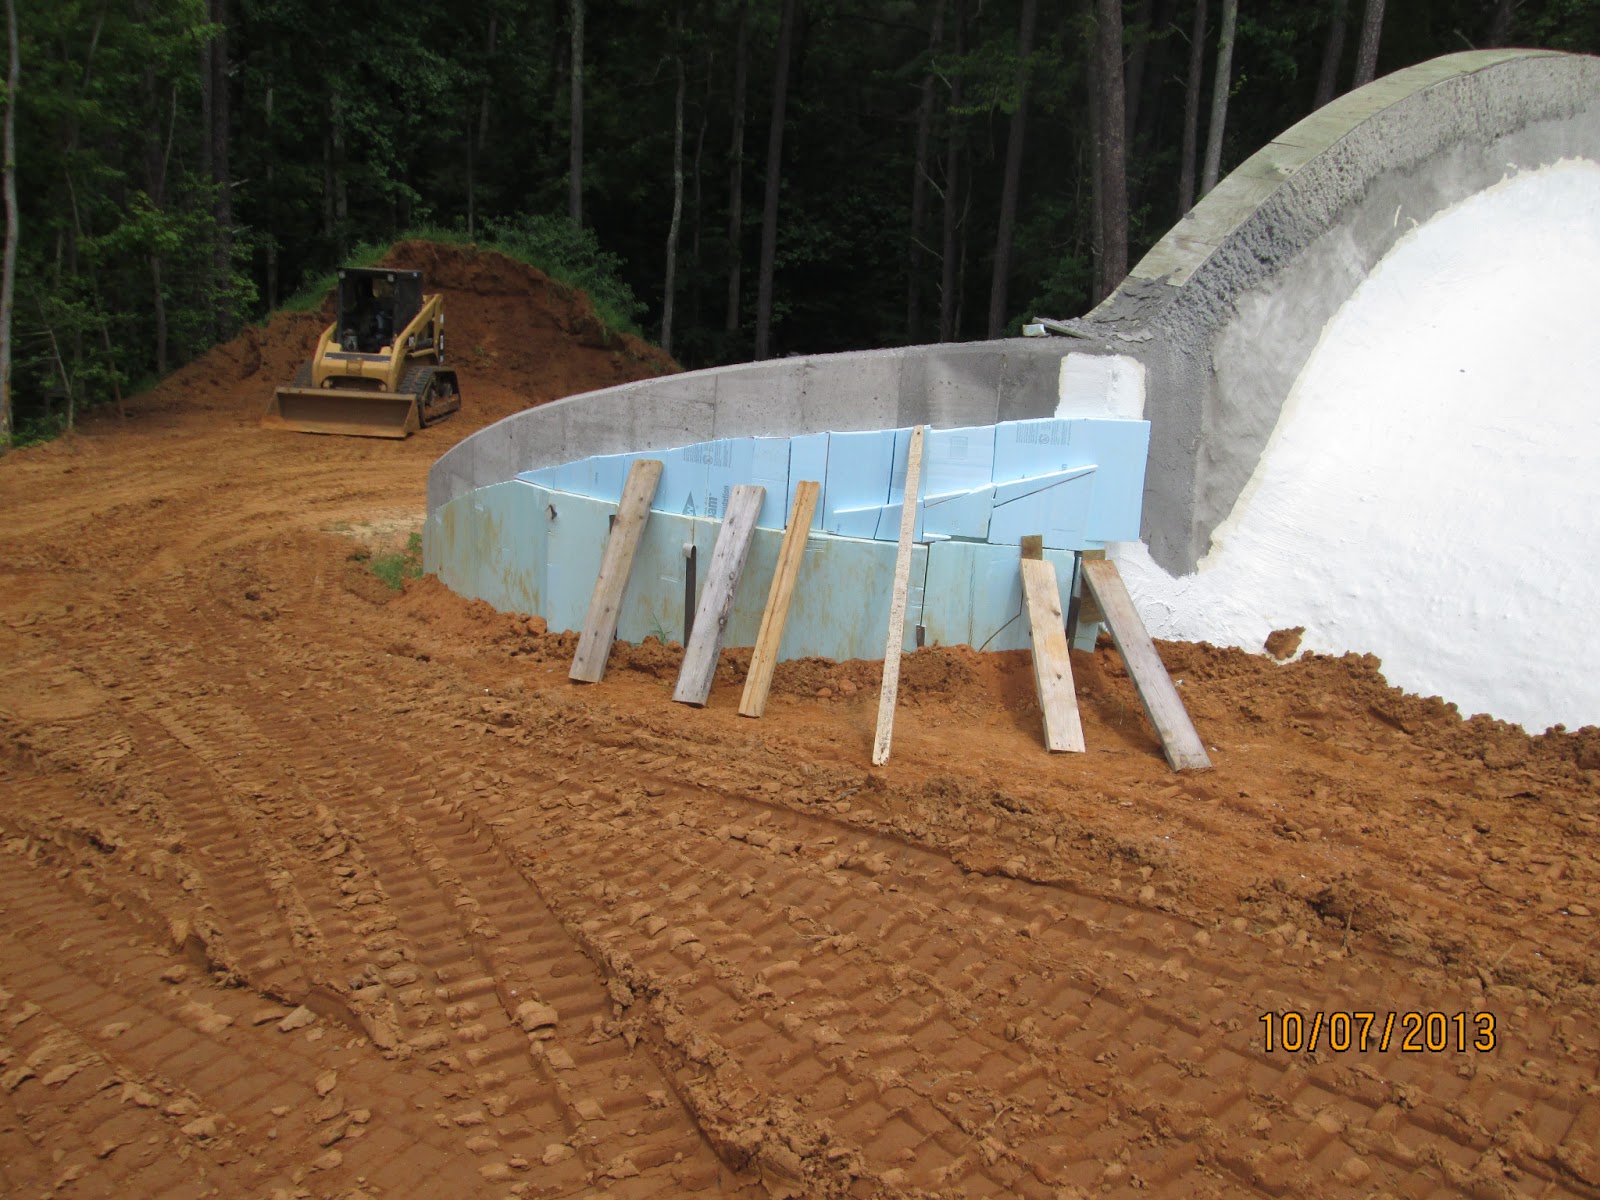
At that time, they had almost finished the first floor walls (those under the second floor). They also worked on the wall on the west side of the living room at the first floor level.


Juan, Victor and Pedro were back today, joined by Keith (welcome back) and Carol.  They started plastering walls on the second floor.  They decided to mix the mortar on the second floor, so they used Tom's ladder winch to transport the bags of mortar mix and masonry cement up to the second floor, and a wheelbarrow, and other tools.  They were very impressed with the ladder and want one of their own.  Carol using the ladder winch

By lunchtime, they had gotten one bay (east side 6 ft width) covered with a base coat and almost troweled. After lunch, they finished it and started on the second bay.  I should say that Victor mainly was preparing the second bay by chipping knobs of concrete away and spraying a bonding adhesive on the surface.  The others were working with the mortar - making it and applying it.

After lunch, Bill worked on getting the air compressor working at a higher psi. He was lucky and had the guys try it out.  They were able to spray the mortar on in one hour what took them about 3 hours before.  They were much happier seeing how well it worked.  They like troweling it smooth much more than flicking the mortar onto the wall, and waiting to see if it falls off or stays on. Pedro spraying mortar

So, we have two bays on the east side with a base coat of 'plaster' applied.  We look forward to the next time they work with us, and the progress that they will make.

11 November 2013

A Green House and The Carpenters Are Back!

Within a week of the last posting, the brown strewn straw turned into lovely green blades of rye grass.  So one could say that we are mostly green as of this moment.


The carpenters arrived this morning to install the three remaining sliding doors on the West
Annex.  And they will be framing out the wall to the tunnel/pantry.  They are here for a short visit, and we look forward to another visit when we have plastered the walls where they need to do more framing.


Another 'green' - which is described as 'blue', but looks green to me.  Part of the tunnel changed from the gray natural concrete to a Senergy sky blue.
Hopefully, we have only enough paint to finish the other two bays of the tunnel, and NO MORE.

10 October 2013

Erosion Control Measures Taken


 All of the bare dirt has been seeded with annual rye grass seed, and we sprayed straw on top of that.
 We should have minimal outside work to be done in the winter (unless the stucco guys get here).

We will be getting some mulch and putting it on bare relatively level parts where vehicles will perhaps drive near the house.
 Two other outside projects may need to get done as weather permits:  the pump house and the house earth tubes.

We were inside the house, on separate occasions, and we later remarked to each other how warm if felt.  Our min/max thermometer read of minimum of 68 F and a maximum of 78 F.
 We did see some turkeys out today near the house and Bill remarked that they were probably scratching in the straw.
 

01 October 2013

Getting the Exterior Ready for The Winter Season

Bill, Carol, Kim and Danny worked Thursday (26 Sep) on installing the umbrella in front of the garage.   
Why?
The garage wall will absorb the heat from the sun - even with it's insulation.  It will penetrate into the structure, heat up the interior and radiate thru the inner walls into the earth (no insulation there). The purpose of the umbrella is to prevent moisture from penetrating our heat-sync under the garage and its perimeter (and over the garage, when we install that bigger umbrella in the spring).  Water will take away any heat that would be stored there.  So, this umbrella extends the footprint of the garage another 12 feet to the South.  
How was it installed?
Danny took away about 16 inches of dirt, tapering it about 1 inch every 4 feet.  We laid down 6 mil polyethylene sheeting, blueboard insulation, and another layer of 6 mil polyethylene sheeting.  There was some pea gravel on the side ditches (east and west) and at the outer edge (south) between the plastic sheeting.  Then Danny covered it all with dirt to within 4 inches of the finish grade.  
It doesn't look any different, but hopefully will make a lot of difference in the interior climate of the garage, and the house when we get to that project.

19 September 2013

The Mound is Complete

Next steps, mulch and seed to protect the exposed soil from the weather.  We still have plenty of dirt in piles near the house.

We (Bill, Carol, Brad, Kim, and Glen) installed the hydrant at the garage.  Next step there, is to extend the french drain, grade the dirt for installing the umbrella, install it, cover with topsoil, and seed. That is in front of the garage.  The top of the garage still needs it's umbrella. And the front NEEDS it's stucco.

Meanwhile, next week, we intend to try out the mortar sprayer for interior plastering.  

13 September 2013

Rain Caused a Delay on Covering, But LOOK at the West Annex!

We had an inch of rain overnight.  We had one wet spot in the West Annex and as you can see, it was probably coming in the doorway which is wide open.  So we are might happy at the very dry interior.  The EPDM waterproofing on the shotcrete, and the ice and watershield on the end-walls, have proved to be the needed answer.  
Danny has more digging to do to allow water to runoff, but the entrance looks wonderful!

12 September 2013

We're Almost There (House Covered)

The house is just a white seam down the middle of the hill of dirt. 
Perhaps TOMORROW will be a day of celebration!

31 August 2013

The Field IS a Field Again


Danny has moved all of the dirt out of the field.  These pictures show his last load. It still needs to be placed on the house...


Bill is, I believe, cultivating or otherwise tilling the soil, and broadcasting seed to get groundcover to grow as we expect some rain in the very near future.

29 August 2013

Retaining Wall at Garage Earth Tubes Completed, Earth Moving Continues

Bill and Damien completed the retaining wall Tuesday the 13th.


 Danny worked well with good weather for a week at putting dirt on the house. 
 See Danny on the West Annex (tried for a long time to get this video uploaded....resorted to a link)

The telephone contractors came and 'sawed' a trench for the underground cable, laid the cable, and let us fill in afterward, which Bill did.


09 August 2013

Covering The House and Earth Tube Retaining Wall

Excavation continues.  Danny took a couple of weeks off and is now covering the house with dirt.  At this point, the tunnel is covered; and dirt is about 3 feet higher than the second floor.  Bill can easily walk across the West Annex.
Northwest backfilling area

Southwest backfilling

East side

East side with tunnel marked

East side looking South

Tunnel area
 The retaining wall at the garage earth tubes is progressing.
Notice the red dashed line.  Miss Utility marked where the underground power line is.  The phone company representative and the contractors have been here to scope the work,  but were not prepared to dig as deep as we require.  They will be back next week to dig the trench and we will backfill and THAT will be DONE!

14 July 2013

Insulation Driven by Appearance of Excavator Danny

Danny started moving some of the dirt 'on top of' the house.  Actually, it will take a lot of time and work before he gets to the 'top'.  But he has started to move dirt up the West side and East side of the house.  So, we needed to place the insulation on the retaining walls so the dirt under the umbrella will be insulated from any heat gain/loss thru the walls.  We still need to insulate part of the tunnel on the East side. 


 We used an adhesive to have the blueboard adhere to the concrete, and propped them up in the meantime.  This way we don't need to be in Danny's way to hold the insulation in place and possibly get buried alive.


24 June 2013

The Waterproofing is now pronounced FINISHED; Interior Plastering; Temperature Probe Conduits

Liquid EPDM does work.  It now covers our house and makes it look similar to an igloo - very bright white in the sun.
These pictures are of the primer applied to the 'tunnel' and West Annex, and the butyl tape inplace on the retaining wall connection to the parapet (only one picture, four actual retaining wall/parapet connections).


There are no leaks....except....at the parapet which needs to be addressed after backfilling.
On the interior, the tunnel has the base coat of concrete plastering, and work continues on the East interior wall.  During one rainstorm where we measured 5 inches fell, we had rain coming in a conduit where the water pipe will eventually enter.  We capped that pipe to help keep the interior dry. 

 And we want to be able to document that we are actually using the dirt around our house as a heat storage area, so we are installing conduits within which we will slide a temperature 'probe' or data logger to record the temperature of the subsurface soil around the house.
Conduit buried except screw-end at edge of retaining wall (NE)


(SE) Conduit partially buried at this point

(NW) Conduit

(SW) Conduit
The conduits all are placed at a 45 degree angle to the retaining wall, with a slight incline so that any water that might get into the conduit will drain out.  We are considering if we want to install a vertical conduit to measure the temperature below the level of the slab.